With our tips and tricks for remote recording, you can guarantee your podcast fans the best listening experience.
Recording podcasts today can take many different forms and ways. Our guest author Julian Laschewski already reports in Part One of the article series about web-based possibilities. In part two, he takes a look at applications you install on your PC or Mac for remote recording, and explains how to avoid common recording errors and inconsistencies.
Tips and techniques for avoiding noise
Smooth communication is essential for any podcast recording. That’s why it’s highly recommended for remote setups not to rely on the wireless Internet connection via Wlan, but to use the good old LAN cable. This reduces the risk of connection dropouts and “swallowing”, which can lead to (not only) irritating interruptions or even misunderstandings, especially during intensive discussions. Some communication tools (Skype, we are looking at you!) punish such involuntary interruptions with even a complete disconnection.
You should also avoid the noise typically caused by carelessness in the recording room: opened windows, creaking furniture, food and drink, accidental bumping into the microphone and so on. A pop protection in front of the microphone often makes miracles happen when a “wet pronunciation” causes unpleasant crackling, especially with words that have a clear “P” - and it generally makes the recording result cleaner.
A low-delay webcam allows visible gestures and facial expressions when the Internet connection is stable, which can prevent the typical insinuation of words during a dialogue and facilitate communication. Additionally, there are “nudge” helpers such as the Mass Message Tool from “myteamspeak”, which allow you to make other participants aware of objections or requests to speak. Many communication programs (see also Part One) also offer whisper functions that are also suitable for this purpose.
Backup, please.
Okay, the connection is made - but how do we record it now? Even though many communication programs and services allow you to record conversations directly with on-board devices, this is by far not the case everywhere (Skype, we’re looking at you again!) and in most cases not the best option. And even if it’s only for backup recording - you should definitely take a good look at recording software. Of course, there are various apps on the Internet that are suitable for use as (backup) recorders: This starts with OBS Studio, which is primarily used by streamers to share live video game scenes with the outside world on Twitch. But with a few adjustments, you can also use it for local recordings that simply pick up the sound and thus also the Skype or Discord conversation. The quality is usually better than using the integrated recording function of these programs.
Another option is a sound mixer or audio interface that records simultaneously and saves the entire conversation locally in the best possible quality. This option is of course the most expensive and may not be worth it at the beginning - but of course this depends strongly on your demands on your own product. Especially since it requires some adjustments, settings and test recordings until in the end everything is recorded perfectly at the right volume.
Of course there are a lot of tools like Skype or Discord-Recorder, which can also be used in the background. However, the ease of use is often sacrificed in terms of quality. We are happy to repeat our recommendation from Part One: Double Ender recordings with the free Studio-Link.
Recording: On!
Double-enders are a good keyword: No matter which recording program you decide on at the end of the day (we’d like to give you a little help in making your decision), if not all of the participants are sitting in the same place, each and every one of them should record their own soundtrack themselves - and send it to the selected editor after finishing it. The editor will merge all the soundtracks and, if necessary, add intro, outro and other sound effects or background sounds to the podcast. The easiest way to ensure synchronous recording in this scenario and to facilitate the work of editing together is to do the counting together: If everyone starts recording at the same time on a common command, it is much easier for the person who subsequently joins the tracks together in a perfect fit. Tip: It would be best to start counting down together again in the choir immediately afterwards. Why? We will tell you why two paragraphs below.
After the recording is complete, you upload the recording result to a cloud storage provider of your choice (popular here: Dropbox, Wetransfer, Google Drive or even self-hosted Next-Cloud instances or FTP servers) - it’s best to output the files in Wav. or Flac format to get the best possible quality. These formats do not unnecessarily compress your audio files and are therefore more suitable for further processing on the Virtual Cutting Board than lossy coding such as MP3 format. Although the last mentioned format is suitable as an output format for the finished podcast, which mainly contains speech and not music - but for the processing of raw data such as the audio tracks of the podcast participants, “No compression” is always the best compression!
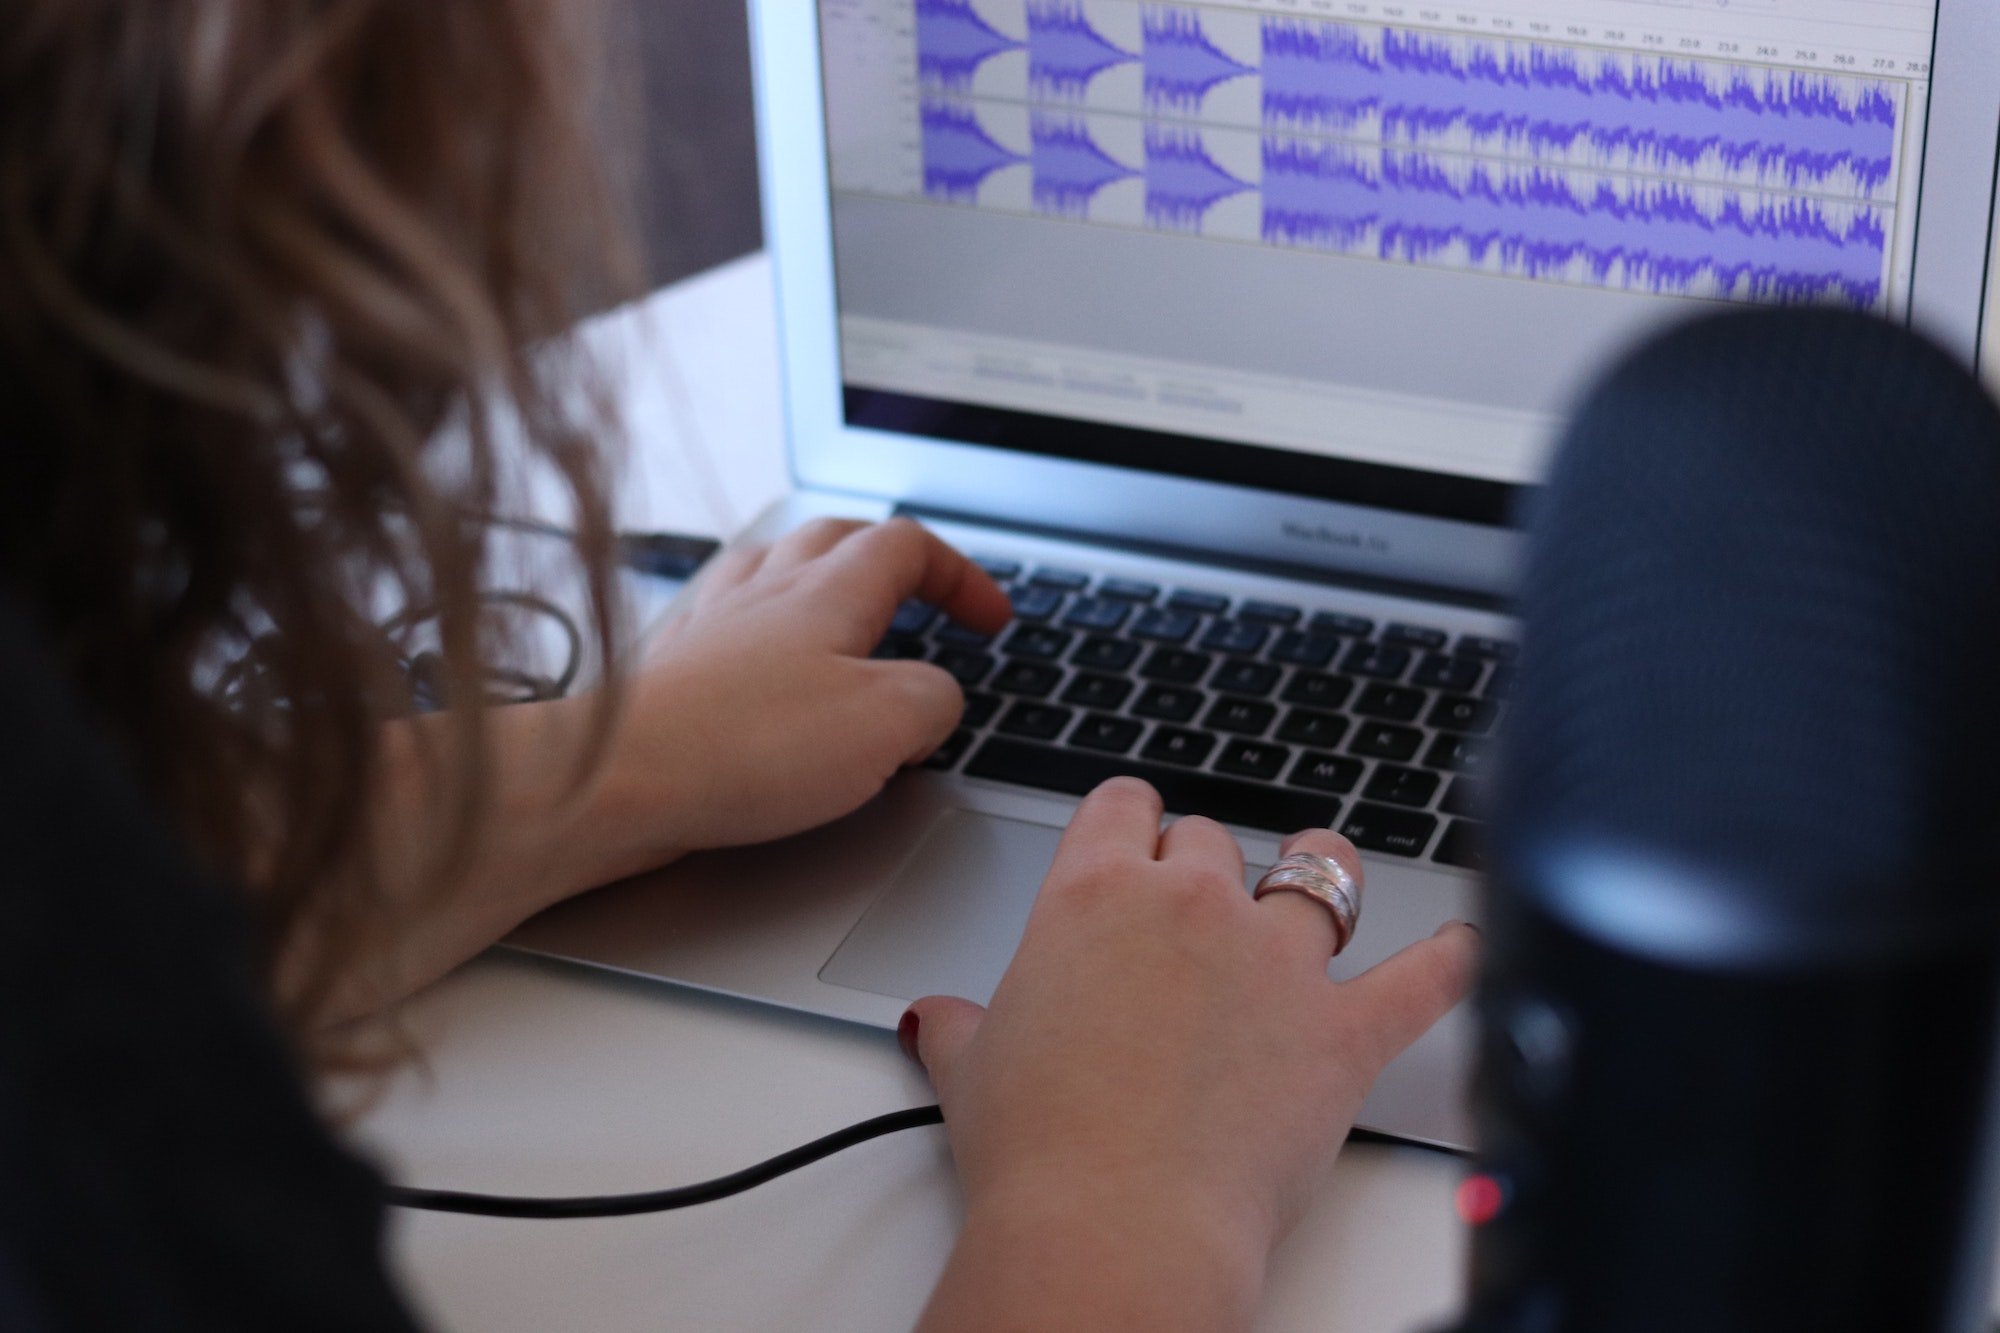
Most likely, the collected and later merged audio tracks are somewhat out of sync in the beginning. So you need to adjust them so that in the end the conversation sounds natural and like it was recorded. The best way to adjust the sound tracks is by looking at the mountains and valleys in the waveform first - you can then adjust the fine tuning by counting them together in the choir. If the result is accurate, listen to the middle and end of the recording to see if everything still fits together. In exceptional cases, the sound tracks (especially when they get longer) show minimal differences in speed. Then the only thing that helps is to make a cut from time to time and realign the tracks.
Many tips, many programs - and now hopefully a little more clarity. Do you have any more tips for recording over the Internet? How do your podcasting setups look like in times of #SocialDistancing? Let us know in the comments section!